Webpack
Webpack concatenates all of our JavaScript code into a single JavaScript file or a handful of files (sometimes called a bundle), which makes it easier to include in an HTML page. Webpack is highly configurable with plugins, allowing us to transform and bundle much more than just JavaScript.
Webpack is a fairly complex tool. While there are a variety of simpler alternatives, such as rollup or parcel, Webpack is still generally the standard for bundling JavaScript apps. I personally recommend learning at least the basics (e.g. what I cover here), before consider other options.
You can find the Webpack docs here. The overview of Webpack is very good.
If you're looking for a simple React setup, you don't need to install Webpack. You should instead use
create-react-app, described in the Quick Start section. Manually installing and configuringwebpackgives you more control over your stack, but isn't necessary to get started with React.
How it works
When we provide webpack with an entry file (the JavaScript file to run first, e.g. index.js), webpack will analyze the file and determine which other files it depends on via calls to require (the node.js API to include another file). It then cleverly concatenates all necessary files into a single file.
Webpack lets us use npm packages for client-side development by
- crawling the filesystem, reading calls to
require, and bundling all necessary JavaScript files into a single file that can be served on the web - polyfilling (faking) the
nodeAPIs so that code can run in both environments
Minimal setup
Let's look at a minimal webpack setup. We won't add React just yet, since it's important to understand webpack basics before adding more complexity.
Feel free to follow along and treat this as a tutorial, or just read through and see how the pieces fit together. If you decide to follow along, make a new directory and run npm init inside it to get a blank package.json.
Installation
Assuming we're in a directory with a package.json file, we can add webpack and the development server to a project with
npm install --save-dev webpack webpack-cli webpack-dev-server
Note the use of the --save-dev option: this installs webpack, the Webpack CLI, and the development server as a dev dependency. Any code which is necessary to build your project during development, but not when running in the browser, should be a dev dependency. We don't want to bundle unnecessary code into our app.
Scripts
We'll add two commands to our package.json file in the scripts section:
{
  ...
  "scripts": {
    "start": "webpack-dev-server --env development",
    "build": "webpack --env production"
  },
  ...
}
We can run any commands listed in this section by running npm run followed be the name of the command, e.g. npm run start.
The start script will start our development server, passing the string "development" to our config file. The build script will save a single .js file on the filesystem for serving from a production server. We'll use these scripts shortly to bundle and test our app.
Configuration
Webpack is most commonly configured using a separate config file: webpack.config.js. This file must export a configuration object, or a function which returns a configuration object, which the webpack compiler will use when run from the command line as webpack. Let's add a webpack.config.js now:
There are only three essential fields: the mode, the entry point file, and the output file. We can use the env flag to specify a different configuration for development/production (remember, we pass "development" as options in our start script). In this case, we're relying on the mode being set to "development" or "production" to configure a variety of webpack settings automatically.
It's also possible to use separate config files for development and production. I personally prefer using a single config file with an
envflag, since I find that they tend to be more similar than different, but separate config files are more explicit and can avoid developers forgetting mistakenly adding something that shouldn't be used in development/production.
Essential files
Let's add the bare minimum files needed to see something on the screen. First, we'll create an index.js:
Then we'll make an index.html and load our webpack-generated bundle.js within it:
Wondering why there's no html tag? It's convenient to omit optional tags!
Running the development server
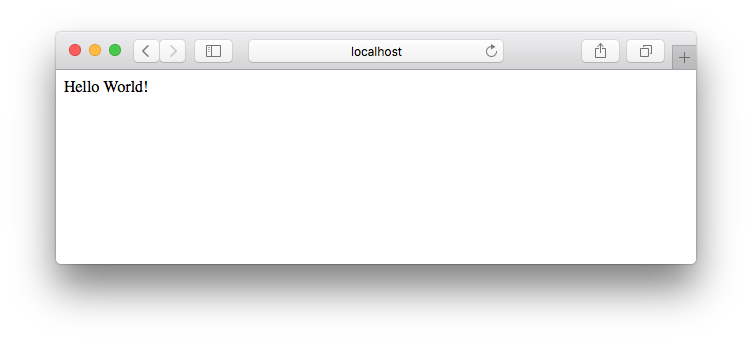
Now we can run npm run dev to run the script we set up in the package.json. This will start the development server. If we navigate to localhost:8080 in a browser, we should see our index.html file, which will run our index.js bundled into bundle.js, displaying Hello World! on the screen.
The bundle.js file will be served from memory by the development server. For production builds, we'll want to use npm run build to build an optimized bundle.js, which will be saved to the filesystem.
For reference, our directory should contain the following files:
It's fine if the versions of dependencies in your
package.jsonare different.
That's it!
Those are the steps needed to set up a minimal webpack build. There are lot of other plugins and configuration options worth learning. In the next few sections, we'll add the babel plugin for transpiling our code, and we'll install the React library.